
I/O Programming -Interfacing of Proximity switches and Relays
Theory
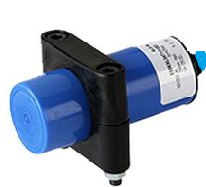
A proximity sensor is a non-contact device that detects the presence or absence of an object without any physical touch. It does this by generating an electromagnetic or electrostatic field and monitoring any changes to that field. This makes them ideal for applications in automation, robotics, and safety systems where reliable, contactless detection is required.
In this project, we will focus on two of the most common types of proximity sensors:
Inductive Proximity Sensors:
These sensors contain a coil that creates a high-frequency electromagnetic field. When a metal object enters this field, it draws energy from the sensor, causing a change in its output signal. A key characteristic of these sensors is that they are designed to detect only metal objects.

Capacitive Proximity Sensors:
These sensors create an electrostatic field. They detect changes in capacitance caused by the presence of any object, whether it is metal or non-metal. This makes them highly versatile for detecting a wide range of materials, including plastics, wood, and even liquids.
Both sensor types used in this project are NPN, meaning they are a type of open-collector switch. When an object is detected, they connect their signal pin to ground (0 V). To ensure a stable signal for the Arduino, a pull-up resistor is used, which holds the input pin at a logic HIGH (5 V) when no object is present.
The Arduino Uno is the microcontroller used as the control unit for this experiment. It operates at a low-power 5 V logic level. However, a 12 V DC motor requires a higher voltage and current that the Arduino cannot provide directly. This is where a relay is essential for isolation and control.
A 5 V relay is an electromechanical switch that is turned on by a small electrical signal. The relay itself is driven by a 2N2222 NPN transistor, which acts as a current amplifier, allowing the Arduino's low-current output to energize the relay's coil. The relay provides crucial galvanic isolation, safely separating the Arduino's low-power circuit from the motor's high-power circuit. To protect the transistor from damaging voltage spikes when the relay coil is turned off, a flyback diode (1N4007) is included.
Components Used in this Project:
Microcontroller: Arduino Uno
Input Devices: Inductive or Capacitive Proximity Sensor (NPN type)
Output Device: 12 V DC Motor
Interface Components:
Relay: 5 V Relay
Transistor: 2N2222 NPN Transistor
Diode: 1N4007 Flyback Diode
Resistors: 10 kΩ (Pull-up) and 4.7 kΩ (Base Resistor)
Power Sources: 12 V DC Power Supply and 5 V DC Power Supply from Arduino 5V pin
Microcontroller Connections:
Proximity sensor is connected to digital I/O pin of Arduino and the pin is being configured as digital input pin to sense the sensor output as logic HIGH or logic LOW as per sensor activation. Similarly, the output is connected to NPN transistor to drive the replay where +12V DC motor is connected as O/P device.
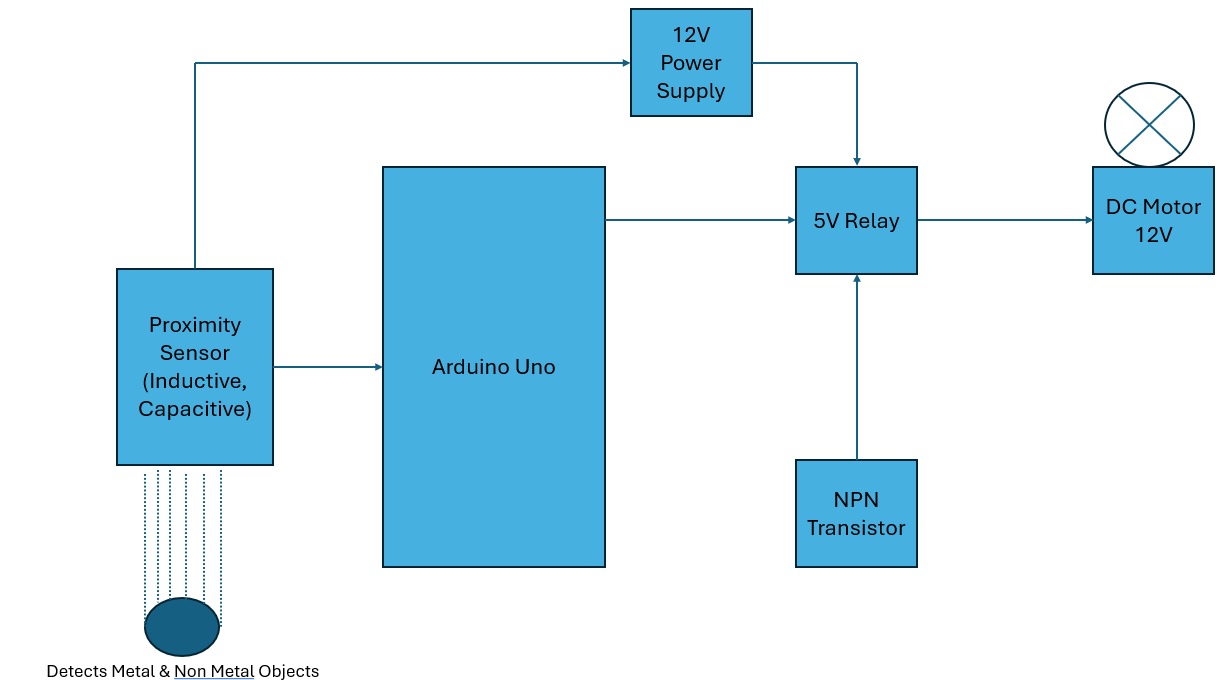
Fig: Block diagram of connection